Integration of the built-in agent with Kaspersky Sandbox
Adding the Sandbox component is required for integration with Kaspersky Sandbox. You can select the Sandbox component during installation or upgrade, as well as using the Change application components task.
To use the component, the following conditions must be met:
- Kaspersky Security Center 13.2. Earlier versions of Kaspersky Security Center do not allow the creation of standalone IOC Scan tasks for threat response.
- The component can be managed only using the Web Console. You cannot manage this component using the Administration Console (MMC).
- The application is activated and the functionality is covered by the license.
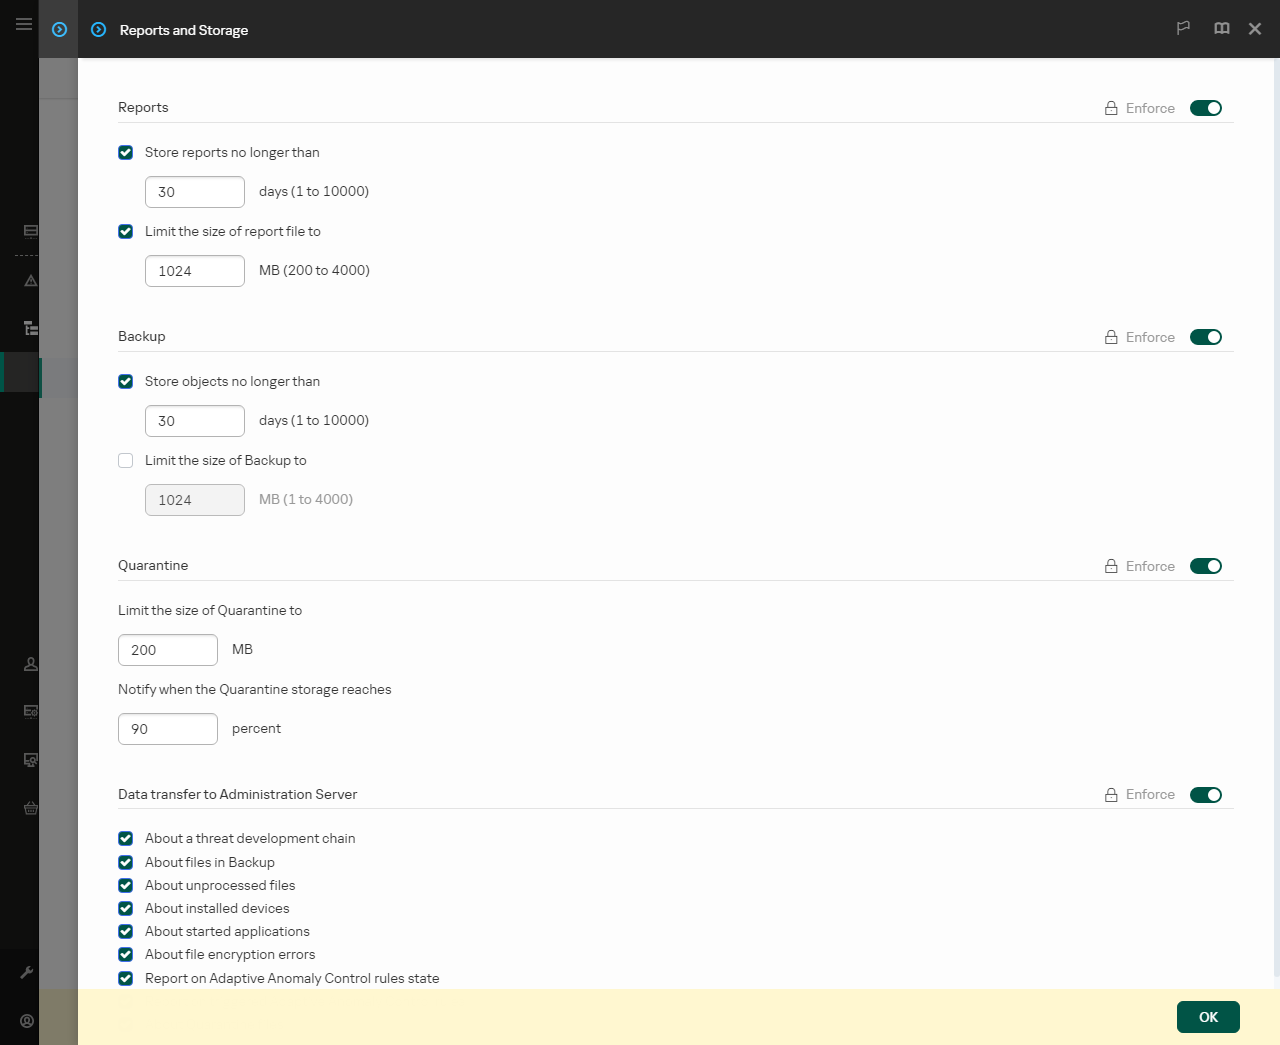
- Data transfer to Administration Server is enabled.
To use all the features of Kaspersky Sandbox, make sure quarantine file data transfer is enabled. The data are required to obtain information about files quarantined on a computer through Web Console. For example, you can download a file from quarantine for analysis in Web Console.
How to enable data transfer to the Administration Server in Web Console
- A background connection between Kaspersky Security Center Web Console and Administration Server is established
For Kaspersky Sandbox to work with Administration Server via Kaspersky Security Center Web Console, you must establish a new secure connection, a background connection. For details about the integration of Kaspersky Security Center with other Kaspersky solutions, refer to the Kaspersky Security Center Help.
Establishing a background connection in Web Console
If a background connection between Kaspersky Security Center Web Console and Administration Server is not established, stand-alone IOC scan tasks cannot be created as part of Threat Response.
- To configure a trusted connection with the Sandbox server, you must prepare a TLS certificate. You must then add the certificate to the computer using a policy. You also need to add the certificate to the Sandbox server.
Two-way authentication using a crypto-container is not available for Kaspersky Sandbox.
You can add a TLS certificate in Web Console or locally using the command line.
- The Kaspersky Sandbox component is enabled.
You can enable or disable the integration with Kaspersky Sandbox in Web Console or locally using the command line.
To enable or disable the integration with Kaspersky Sandbox:
- In the main window of the Web Console, select Devices → Policies & profiles.
- Click the name of the Kaspersky Endpoint Security policy.
The policy properties window opens.
- Select the Application settings tab.
- Go to Detection and Response → Sandbox.
- Use the Integration with Sandbox ENABLED toggle to enable or disable the component.
- In the Integration mode block, select the component operating mode: Kaspersky Sandbox (automatic file submission for scanning).
- Click the Server connection settings link.
This opens the Kaspersky Sandbox server connection settings window.
- In the Server TLS certificate block, click Add and select the TLS certificate file.
Kaspersky Endpoint Security can only have one TLS certificate for a Kaspersky Sandbox server. If you have added a TLS certificate before, that certificate is revoked. Only the last added certificate is used.
- Configure advanced connections settings for Kaspersky Sandbox servers:
- Timeout. Connection timeout for the Sandbox server. After the configured timeout elapses, Kaspersky Endpoint Security sends a request to the next server. You can increase the connection timeout for the server if your connection speed is low or if the connection is unstable. The recommended request timeout is 0.5 seconds or less.
- Request queue. Size of the request queue folder. When sending multiple objects for scanning in Sandbox, Kaspersky Endpoint Security creates a request queue. By default, the size of the request queue folder is limited to 100 MB. After the maximum size is reached, Sandbox stops adding new requests to the queue and sends the corresponding event to Kaspersky Security Center. You can configure the size of the request queue folder depending on your server configuration.
- In the Servers block, click the Add button.
- This opens a window; in that window, enter the Sandbox server address (IPv4, IPv6, DNS) and port.
For details about deploying virtual images and configuring Sandbox servers, refer to the Kaspersky Sandbox Help.
- Save your changes.
As a result, Kaspersky Endpoint Security verifies the TLS certificate. If the certificate is successfully verified, Kaspersky Endpoint Security uploads the certificate file to the computer during the next synchronization with Kaspersky Security Center. If you have added two TLS certificates, Kaspersky Sandbox will use the latest certificate to establish a trusted connection. Check the operating status of the component by viewing the Report on status of application components. You can also view the operating status of a component in reports in the local interface of Kaspersky Endpoint Security. The Sandbox component will be added to the list of Kaspersky Endpoint Security components.
Kaspersky Endpoint Security saves information about the functioning of the Kaspersky Sandbox component to a report. The report also contains information about errors. If you get an error with a description fitting the Error code: XXX format (for example, 0xa67b01f4), contact Technical Support.
