Kaspersky Endpoint Security 12.8 for Windows
- Čeština (Česká republika)
- Deutsch
- Español (España)
- Español (México)
- Français
- Italiano
- Magyar (Magyarország)
- Nederlands (Nederland)
- Polski (Polska)
- Português (Brasil)
- Português (Portugal)
- Română (România)
- Tiếng Việt (Việt Nam)
- Türkçe (Türkiye)
- Русский
- العربية (الإمارات العربية المتحدة)
- 한국어 (대한민국)
- 简体中文
- 繁體中文
- 日本語(日本)
- Kaspersky Endpoint Security for Windows Help
- Kaspersky Endpoint Security for Windows
- Modes of the application: Standard, EDR Agent, Light Agent
- Distribution kit
- Hardware and software requirements
- Comparison of available application features depending on the type of operating system
- Comparison of application functions depending on the management tools
- Compatibility with other applications
- Installing and removing the application
- Deployment through Kaspersky Security Center
- Installing the application locally using the Wizard
- Remotely installing the application using System Center Configuration Manager
- Description of setup.ini file installation settings
- Change application components
- Upgrading from a previous version of the application
- Removing the application
- Application licensing
- About the End User License Agreement
- About the license
- About the license certificate
- About subscription
- About license key
- About activation code
- About the key file
- Comparison of application functionality depending on license type for workstations
- Comparison of application functionality depending on license type for servers
- Activating the application
- Removing a license key
- Viewing license information
- Purchasing a license
- Renewing subscription
- Data provision
- Getting started
- About the Kaspersky Endpoint Security for Windows Management Plug-in
- Special considerations when working with different versions of management plug-ins
- Special considerations when using encrypted protocols for interacting with external services
- Application interface
- Getting started
- Managing policies
- Task management
- Configuring local application settings
- Starting and stopping Kaspersky Endpoint Security
- Pausing and resuming computer protection and control
- Creating and using a configuration file
- Restoring the default application settings
- Malware Scan
- Updating databases and application software modules
- Working with active threats
- Computer protection
- File Threat Protection
- Enabling and disabling File Threat Protection
- Automatic pausing of File Threat Protection
- Changing the action taken on infected files by the File Threat Protection component
- Forming the protection scope of the File Threat Protection component
- Using scan methods
- Using scan technologies in the operation of the File Threat Protection component
- Optimizing file scanning
- Scanning compound files
- Changing the scan mode
- Container Scan
- Web Threat Protection
- Mail Threat Protection
- Enabling and disabling Mail Threat Protection
- Changing the action to take on infected email messages
- Forming the protection scope of the Mail Threat Protection component
- Scanning compound files attached to email messages
- Email messages attachment filtering
- Exporting and importing extensions for attachment filtering
- Scanning emails in Microsoft Office Outlook
- Network Threat Protection
- Firewall
- BadUSB Attack Prevention
- AMSI Protection
- Exploit Prevention
- Behavior Detection
- Enabling and disabling Behavior Detection
- Selecting the action to take on detecting malware activity
- Protection of shared folders against external encryption
- Enabling and disabling protection of shared folders against external encryption
- Configuring the blocking period of an untrusted computer
- Editing the protection scope
- Adding trusted computers for external data encryption
- Exporting and importing a list of exclusions from protection of shared folders against external encryption
- Host Intrusion Prevention
- Remediation Engine
- Kaspersky Security Network
- Encrypted connections scan
- Wipe Data
- File Threat Protection
- Computer control
- Web Control
- Adding a web resource access rule
- Filter by web resource addresses
- Filter by web resource content
- Testing web resource access rules
- Exporting and importing Web Control rules
- Exporting and importing web resource addresses of the Web Control rule
- Monitoring user Internet activity
- Editing templates of Web Control messages
- Editing masks for web resource addresses
- Web Control for virtual machines
- Device Control
- Enabling and disabling Device Control
- About access rules
- Editing a device access rule
- Editing a connection bus access rule
- Managing access to mobile devices
- Managing access to Bluetooth devices
- Control of printing
- Control of Wi-Fi connections
- Monitoring usage of removable drives
- Changing the caching duration
- Actions with trusted devices
- Obtaining access to a blocked device
- Editing templates of Device Control messages
- Anti-Bridging
- Adaptive Anomaly Control
- Enabling and disabling Adaptive Anomaly Control
- Enabling and disabling an Adaptive Anomaly Control rule
- Modifying the action taken when an Adaptive Anomaly Control rule is triggered
- Creating an exclusion for an Adaptive Anomaly Control rule
- Exporting and importing exclusions for Adaptive Anomaly Control rules
- Applying updates for Adaptive Anomaly Control rules
- Editing Adaptive Anomaly Control message templates
- Viewing Adaptive Anomaly Control reports
- Application Control
- Application Control functionality limitations
- Receiving information about the applications that are installed on users' computers
- Enabling and disabling Application Control
- Selecting the Application Control mode
- Managing Application Control rules
- Adding a trigger condition for the Application Control rule
- Adding executable files from the Executable files folder to the application category
- Adding event-related executable files to the application category
- Adding an Application Control rule
- Changing the status of an Application Control rule via Kaspersky Security Center
- Exporting and importing Application Control rules
- Viewing events resulting from operation of the Application Control component
- Viewing a report on blocked applications
- Testing Application Control rules
- Application activity monitor
- Rules for creating name masks for files or folders
- Editing Application Control message templates
- Best practices for implementing a list of allowed applications
- Network ports monitoring
- Log Inspection
- System Integrity Monitoring
- Cloud Discovery
- Web Control
- Trusted zone
- Managing Backup
- Notification service
- Managing reports
- Kaspersky Endpoint Security Self-Defense
- Kaspersky Endpoint Security performance and compatibility with other applications
- Data Encryption
- Encryption functionality limitations
- Changing the length of the encryption key (AES56 / AES256)
- Kaspersky Disk Encryption
- Special features of SSD drive encryption
- Starting Kaspersky Disk Encryption
- Creating a list of hard drives excluded from encryption
- Exporting and importing a list of hard drives excluded from encryption
- Enabling Single Sign-On (SSO) technology
- Managing Authentication Agent accounts
- Using a token and smart card with Authentication Agent
- Hard drive decryption
- Restoring access to a drive protected by Kaspersky Disk Encryption technology
- Signing in with the Authentication Agent service account
- Updating the operating system
- Eliminating errors of encryption functionality update
- Selecting the Authentication Agent tracing level
- Editing Authentication Agent help texts
- Removing leftover objects and data after testing the operation of Authentication Agent
- BitLocker Management
- File Level Encryption on local computer drives
- Encrypting files on local computer drives
- Forming encrypted file access rules for applications
- Encrypting files that are created or modified by specific applications
- Generating a decryption rule
- Decrypting files on local computer drives
- Creating encrypted packages
- Restoring access to encrypted files
- Restoring access to encrypted data after operating system failure
- Editing templates of encrypted file access messages
- Encryption of removable drives
- Viewing data encryption details
- Working with encrypted devices when there is no access to them
- Detection and Response solutions
- MDR and EDR Optimum licensing
- Kaspersky Endpoint Agent
- Endpoint Detection and Response Agent
- Managed Detection and Response
- Endpoint Detection and Response
- Kaspersky Sandbox
- Kaspersky Anti Targeted Attack Platform
- Managing Quarantine
- Kaspersky Unified Monitoring and Analysis Platform (KUMA)
- KSWS to KES Migration Guide
- Correspondence of KSWS and KES components
- Correspondence of KSWS and KES settings
- Migrating KSWS components
- Migrating KSWS tasks and policies
- Migrating KSWS trusted zone
- Migrating KSWS Applications Launch Control rules
- Installing KES instead of KSWS
- Migrating the [KSWS+KEA] configuration to [KES+built-in agent] configuration
- Making sure Kaspersky Security for Windows Server was successfully removed
- Activating KES with a KSWS key
- Special considerations for migrating high-load servers
- Managing the application on a server in Server Core mode
- Migrating from [KSWS+KEA] to [KES+built-in agent]
- Light Agent mode to protect virtual machines
- Managing the application from the command line
- Setup. Installing the application
- Setup /x. Removing the application
- AVP commands
- SCAN. Malware Scan
- UPDATE. Updating databases and application software modules
- ROLLBACK. Last update rollback
- TRACES. Tracing
- START. Starting a profile
- STOP. Stopping a profile
- STATUS. Profile status
- STATISTICS. Profile operation statistics
- RESTORE. Restoring files from Backup
- EXPORT. Exporting application settings
- IMPORT. Importing application settings
- ADDKEY. Applying a key file
- LICENSE. Licensing
- RENEW. Purchasing a license
- PBATESTRESET. Resetting the disk check results before encrypting the disk
- EXIT. Exiting the application
- EXITPOLICY. Disabling policy
- STARTPOLICY. Enabling policy
- DISABLE. Disabling protection
- SPYWARE. Spyware detection
- KSN. Switching between KSN / KPSN
- SERVERBINDINGDISABLE. Disabling the server connection protection
- KESCLI commands
- Scan. Malware Scan
- GetScanState. Scan completion status
- GetLastScanTime. Determining the scan completion time
- GetThreats. Obtaining data on detected threats
- UpdateDefinitions. Updating databases and application software modules
- GetDefinitionState. Determining the release date and time of the databases
- EnableRTP. Enabling protection
- GetRealTimeProtectionState. File Threat Protection status
- GetEncryptionState. Disk encryption status
- Version. Identifying the application version
- Detection and Response management commands
- Light Agent management commands
- Error codes
- Appendix. Application profiles
- Managing the application through the REST API
- Sources of information about the application
- Contacting Technical Support
- Limitations and warnings
- Glossary
- Active key
- Administration group
- Anti-virus databases
- Archive
- Authentication Agent
- Certificate issuer
- Cloud Discovery
- Database of malicious web addresses
- Database of phishing web addresses
- Disinfection
- False alarm
- Infectable file
- Infected file
- Integration Server
- IOC
- IOC file
- License certificate
- Light Agent
- Mask
- Network Agent
- Normalized form of the address of a web resource
- OLE object
- OpenIOC
- Portable File Manager
- Protection scope
- Scan scope
- SVM
- Task
- Trusted Platform Module
- Appendices
- Appendix 1. Application settings
- File Threat Protection
- Web Threat Protection
- Mail Threat Protection
- Network Threat Protection
- Firewall
- BadUSB Attack Prevention
- AMSI Protection
- Exploit Prevention
- Behavior Detection
- Host Intrusion Prevention
- Remediation Engine
- Kaspersky Security Network
- Log Inspection
- Web Control
- Device Control
- Application Control
- Adaptive Anomaly Control
- System Integrity Monitoring
- Endpoint Sensor
- Sandbox
- Managed Detection and Response
- Endpoint Detection and Response
- Endpoint Detection and Response (KATA)
- Network Detection and Response (KATA)
- Full Disk Encryption
- File Level Encryption
- Encryption of removable drives
- Templates (data encryption)
- Exclusions
- Application settings
- Reports and storage
- Network settings
- Interface
- Manage Settings
- Updating databases and application software modules
- Appendix 2. Application trust groups
- Appendix 3. File extensions for quick removable drives scan
- Appendix 4. File Types for the Mail Threat Protection attachment filter
- Appendix 5. Network settings for interaction with external services
- Appendix 6. Application events
- Appendix 7. Supported file extensions for Execution prevention
- Appendix 8. Supported script interpreters for Execution prevention
- Appendix 9. IOC scan scope in the registry (RegistryItem)
- Appendix 10. IOC file requirements
- Appendix 11. User accounts in application component rules
- Appendix 1. Application settings
- Information about third-party code
- Trademark notices
Integration of the built-in agent with Kaspersky Sandbox
Adding the Sandbox component is required for integration with Kaspersky Sandbox. You can select the Sandbox component during installation or upgrade, as well as using the Change application components task.
To use the component, the following conditions must be met:
- Kaspersky Security Center 13.2. Earlier versions of Kaspersky Security Center do not allow the creation of standalone IOC Scan tasks for threat response.
- The component can be managed only using the Web Console. You cannot manage this component using the Administration Console (MMC).
- The application is activated and the functionality is covered by the license.
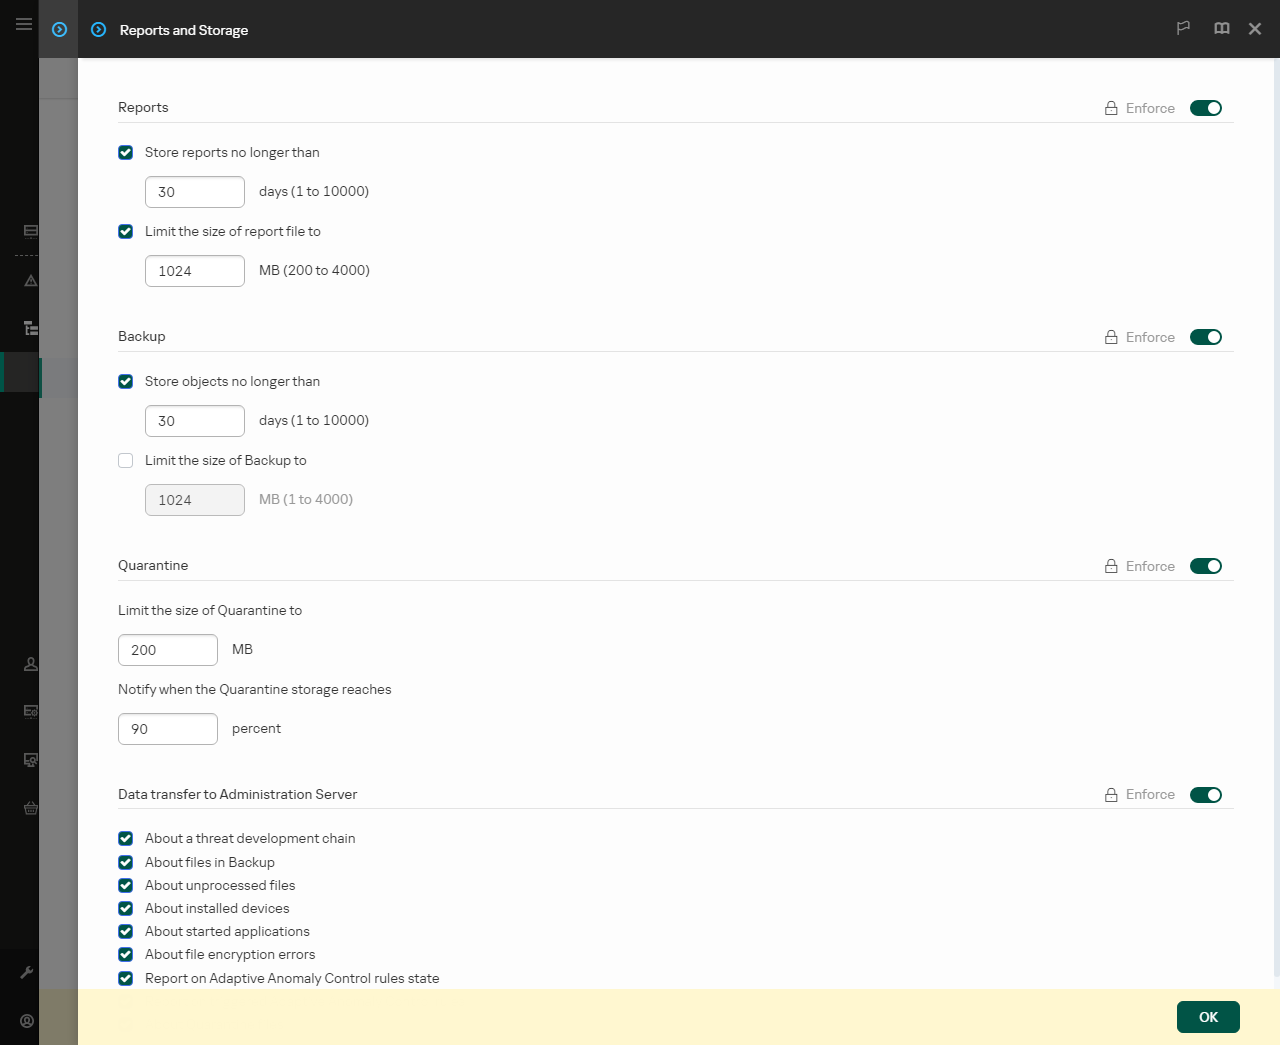
- Data transfer to Administration Server is enabled.
To use all the features of Kaspersky Sandbox, make sure quarantine file data transfer is enabled. The data are required to obtain information about files quarantined on a computer through Web Console. For example, you can download a file from quarantine for analysis in Web Console.
How to enable data transfer to the Administration Server in Web Console
- In the main window of the Web Console, select Assets (Devices) → Policies & profiles.
- Click the name of the Kaspersky Endpoint Security policy.
The policy properties window opens.
- Select the Application settings tab.
- Go to General settings → Reports and Storage.
- In the Data transfer to Administration Server block, select the About Quarantine files check box.
- Save your changes.
Settings of data transfer to Administration Server
- A background connection between Kaspersky Security Center Web Console and Administration Server is established
For Kaspersky Sandbox to work with Administration Server via Kaspersky Security Center Web Console, you must establish a new secure connection, a background connection. For details about the integration of Kaspersky Security Center with other Kaspersky solutions, refer to the Kaspersky Security Center Help.
Establishing a background connection in Web Console
- In the main window of the Web Console, select Settings → Integration.
- Go to the Integration section.
- Turn on the Background connection for integration Enabled toggle.
- Save your changes.
If a background connection between Kaspersky Security Center Web Console and Administration Server is not established, stand-alone IOC scan tasks cannot be created as part of Threat Response.
- To configure a trusted connection with the Sandbox server, you must prepare a TLS certificate. You must then add the certificate to the computer using a policy. You also need to add the certificate to the Sandbox server.
Two-way authentication using a crypto-container is not available for Kaspersky Sandbox.
You can add a TLS certificate in Web Console or locally using the command line.
- The Kaspersky Sandbox component is enabled.
You can enable or disable the integration with Kaspersky Sandbox in Web Console or locally using the command line.
To enable or disable the integration with Kaspersky Sandbox:
- In the main window of the Web Console, select Assets (Devices) → Policies & profiles.
- Click the name of the Kaspersky Endpoint Security policy.
The policy properties window opens.
- Select the Application settings tab.
- Go to Detection and Response → Sandbox.
- Use the Integration with Sandbox ENABLED toggle to enable or disable the component.
- In the Integration mode block, select the component operating mode: Kaspersky Sandbox (automatic file submission for scanning).
- Click the Server connection settings link.
This opens the Kaspersky Sandbox server connection settings window.
- In the Server TLS certificate block, click Add and select the TLS certificate file.
Kaspersky Endpoint Security can only have one TLS certificate for a Kaspersky Sandbox server. If you have added a TLS certificate before, that certificate is revoked. Only the last added certificate is used.
- Configure advanced connections settings for Kaspersky Sandbox servers:
- Timeout. Connection timeout for the Sandbox server. After the configured timeout elapses, Kaspersky Endpoint Security sends a request to the next server. You can increase the connection timeout for the server if your connection speed is low or if the connection is unstable. The recommended request timeout is 0.5 seconds or less.
- Request queue. Size of the request queue folder. When sending multiple objects for scanning in Sandbox, Kaspersky Endpoint Security creates a request queue. By default, the size of the request queue folder is limited to 100 MB. After the maximum size is reached, Sandbox stops adding new requests to the queue and sends the corresponding event to Kaspersky Security Center. You can configure the size of the request queue folder depending on your server configuration.
- In the Servers block, click the Add button.
- This opens a window; in that window, enter the Sandbox server address (IPv4, IPv6, DNS) and port.
For details about deploying virtual images and configuring Sandbox servers, refer to the Kaspersky Sandbox Help.
- Save your changes.
As a result, Kaspersky Endpoint Security verifies the TLS certificate. If the certificate is successfully verified, Kaspersky Endpoint Security uploads the certificate file to the computer during the next synchronization with Kaspersky Security Center. If you have added two TLS certificates, Kaspersky Sandbox will use the latest certificate to establish a trusted connection. Check the operating status of the component by viewing the Report on status of application components. You can also view the operating status of a component in reports in the local interface of Kaspersky Endpoint Security. The Sandbox component will be added to the list of Kaspersky Endpoint Security components.
Kaspersky Endpoint Security saves information about the functioning of the Kaspersky Sandbox component to a report. The report also contains information about errors. If you get an error with a description fitting the Error code: XXX
format (for example, 0xa67b01f4
), contact Technical Support.