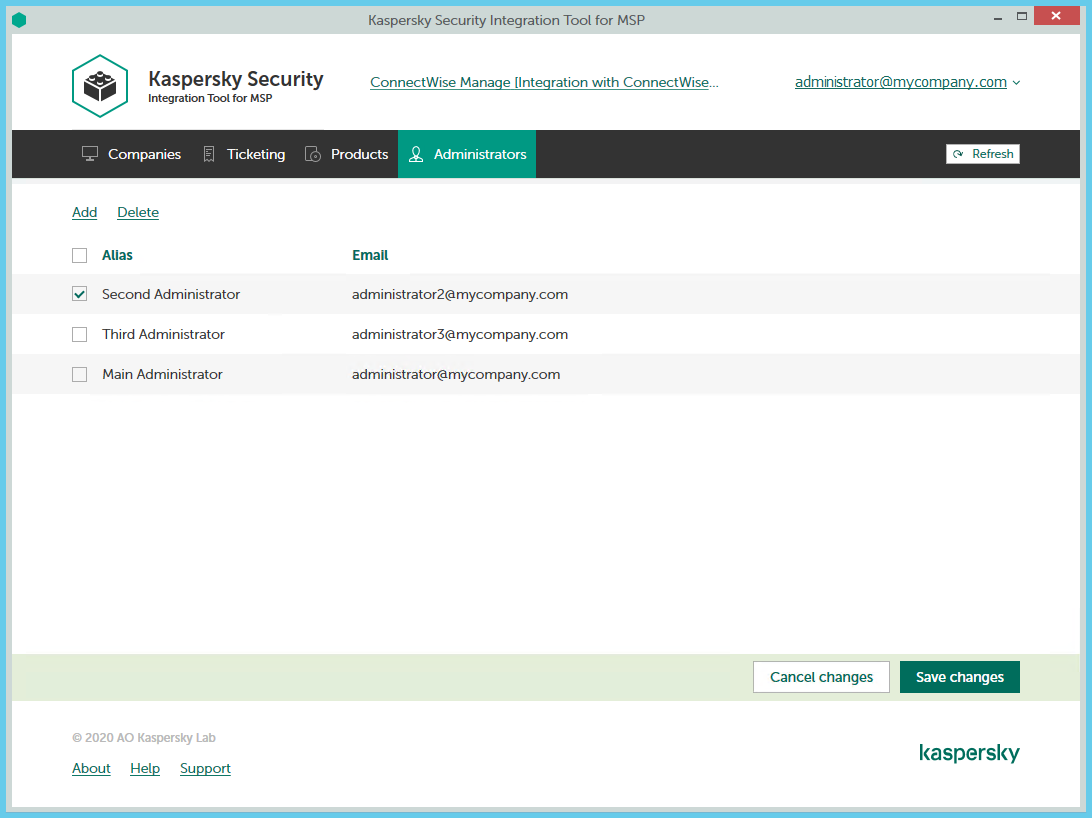
Managing administrators
You can manage the administrators related to the integration with Kaspersky Business Hub. You can add the accounts of existing Kaspersky Business Hub users as administrators of your integration. You can also remove administrators from the integration if you do not want them to work with the integration.
You can manage administrators within the integration only if Kaspersky Business Hub solution is used. For Kaspersky Security Center solution, this functionality is unavailable.
When you add administrators to the integration, they have the same rights as existing administrators: they can administer all workspaces bound to this integration and manage the integration settings.
When you remove administrators from the integration, these administrators can no longer manage this integration and cannot administer its workspaces. You may have to remove administrators, for example, if they stop working for your company or move to new positions within the company and are no longer allowed to manage integrations.
All remaining administrators who have access to the integration can add or remove administrators to / from this integration.
Managing administrators
The following sections explain how to add or remove an administrator to / from the integration.