Assigning a managed device to act as a distribution point
You can manually assign a device to act as a distribution point for an administration group and configure it as a connection gateway in Administration Console.
To assign a device as distribution point of an administration group:
- In the console tree, select the Administration Server node.
- In the context menu of Administration Server, select Properties.
- In the Administration Server properties window, select the Distribution points section.
- In the right part of the window, select the Manually assign distribution points option.
- Click the Add button.
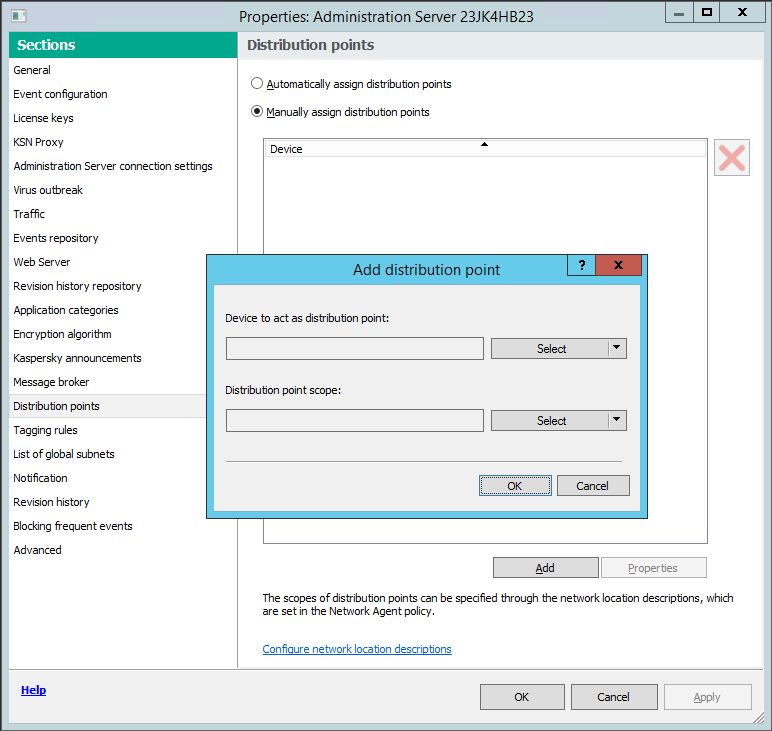
Assign a distribution point manually
This opens the Add distribution point window.
- In the Add distribution point window, perform the following actions:
- Under Device to act as distribution point, click the down arrow (
 ) on the Select split button and select the Add device from group option.
 - In the Select devices window that opens, select the device to act as a distribution point.
- Under Distribution point scope, click the down arrow () on the Select split button.
- Indicate the specific devices to which the distribution point will distribute updates. You can specify an administration group or a network location description.
- Click OK to close the Add distribution point window.
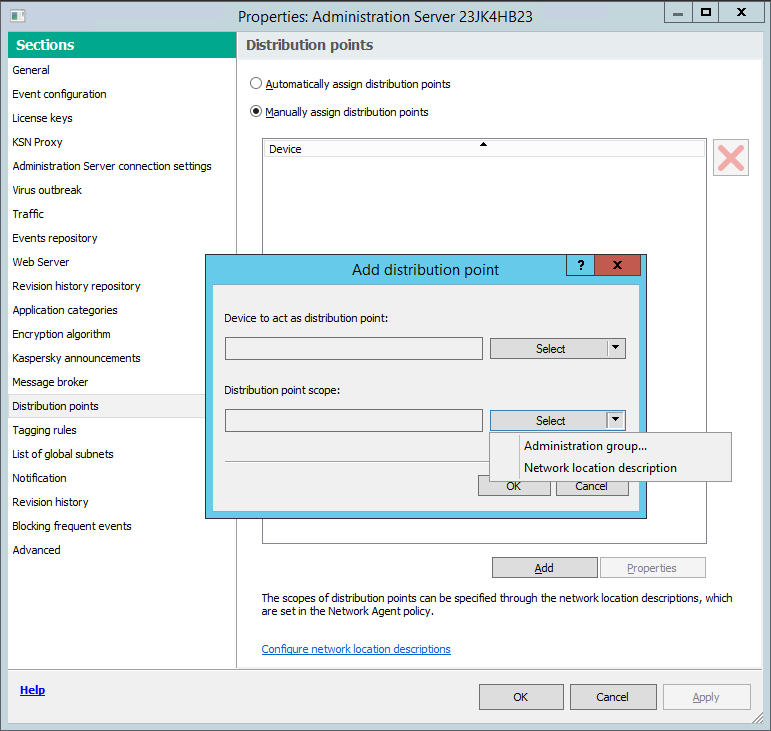
Selecting distribution point scope
- Under Device to act as distribution point, click the down arrow (
The distribution point that you have added will be displayed in the list of distribution points, in the Distribution points section.
The first device with Network Agent installed that connects to the virtual Administration Server will be automatically assigned to act as distribution point and configured as connection gateway.