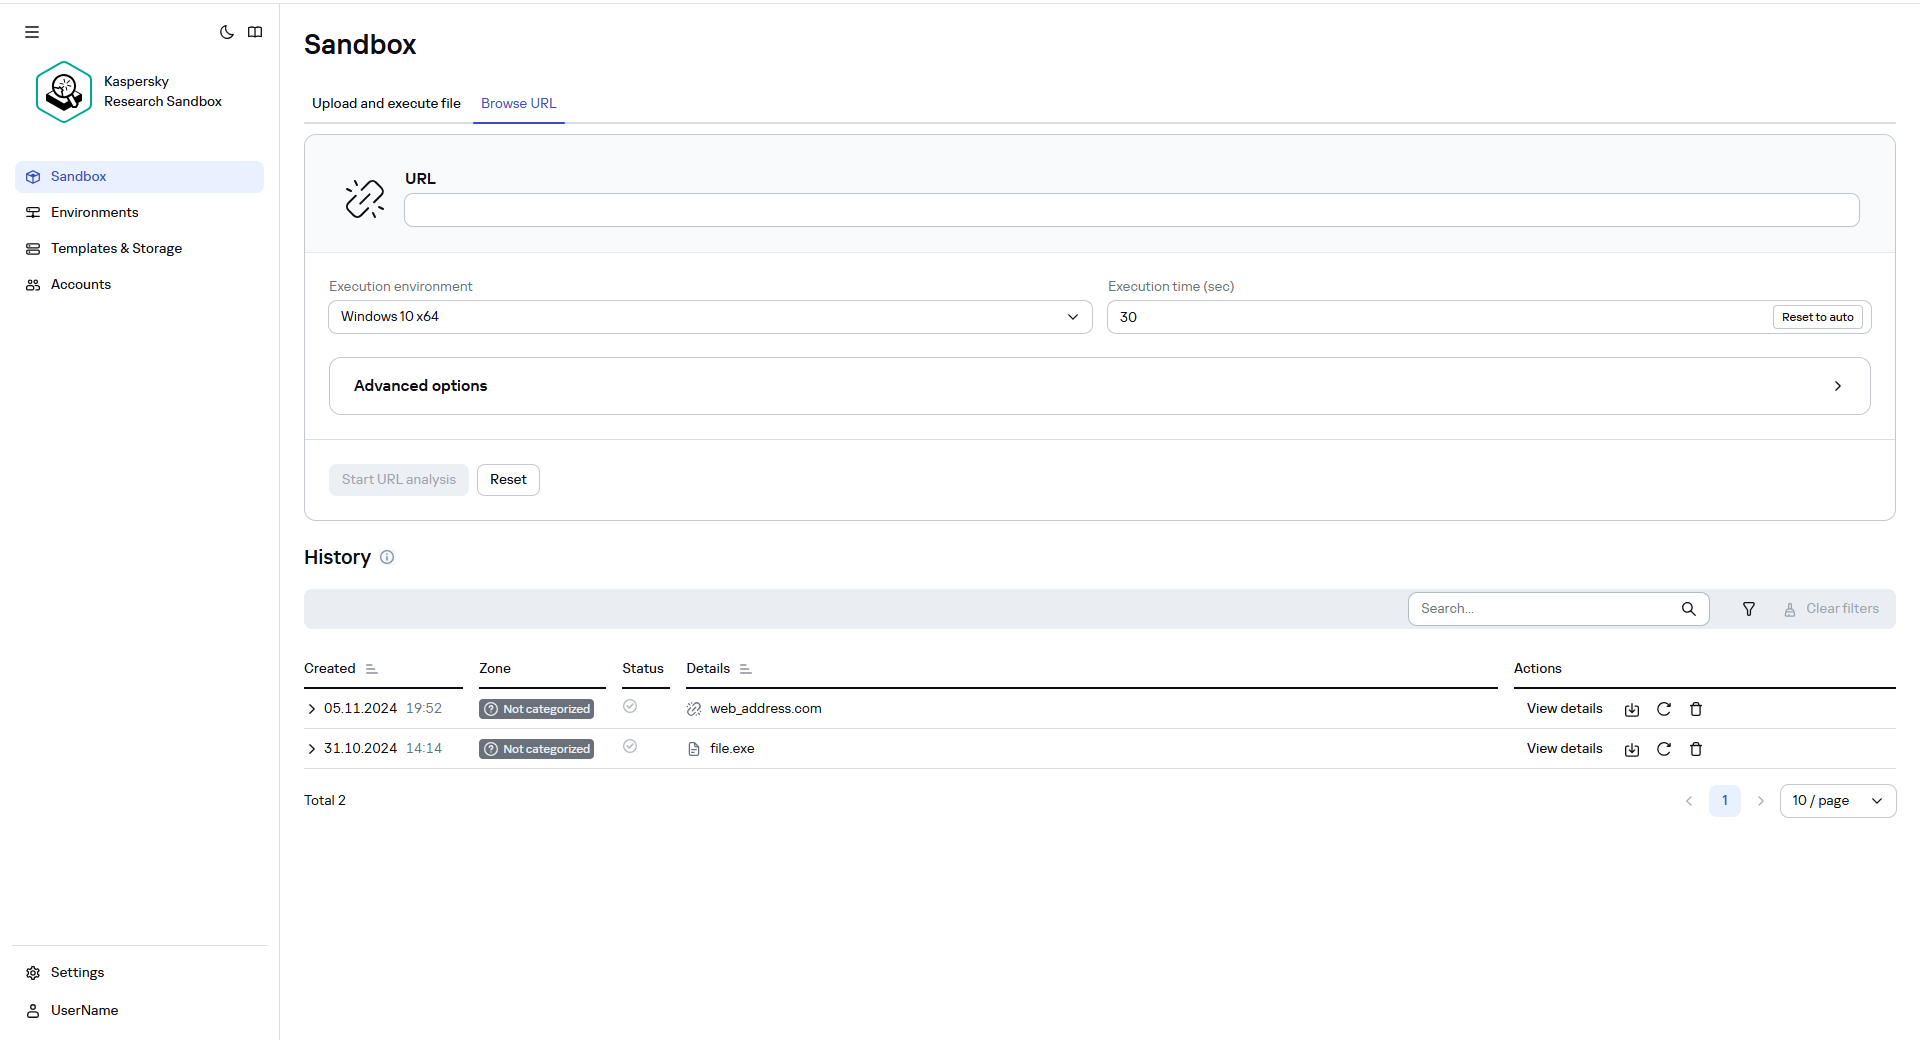
Starting web address browsing
Web address analysis is only available if at least one Windows execution environment is installed.
Before browsing in Kaspersky Research Sandbox, you must specify the web address and select advanced settings if necessary.
To browse a web address in Kaspersky Research Sandbox:
- On the Sandbox page of Kaspersky Research Sandbox, on the Browse URL tab, enter the required web address in the URL field.
- In the Browsing environment drop-down list, select the operating system that you want to use as an execution environment.
In the drop-down list, all installed execution environments are available. If you have successfully deployed custom execution environments, they are also displayed in the list of available environments in the Custom environments section.
To analyze FTP links, it is recommended to use Microsoft Windows 7 images. If you want to use a Microsoft Windows 10 image, during the image configuration process you need to install additional software that processes FTP links.
- In the Browsing time (sec) field, specify the execution time (seconds) by using the slider or entering the required number.
You can specify the execution time from 30 to 1800 seconds (30 minutes). By default, the Auto value is selected (1800 seconds when using VNC mode and 100 seconds without VNC).
The web address will only be browsed in the selected environment during the specified execution time. The specified time does not include the time required for analysis and displaying results.
- If necessary, click Advanced options and specify the following settings:
- If you want to specify a name of a network channel that will be used to access the internet, select one of the following options in the Internet channel drop-down list:
- Auto—Select this option to define a network channel automatically.
- Tarpit—Select this option to emulate network availability during web resource browsing, without real access to the internet. When you select this option, a connection from the virtual machine to any host is emulated. The Tarpit channel simplifies emulation of the following protocols: raw TCP/UDP, HTTP(S), ICMP, DNS.
- Other options in the list are set during the Kaspersky Research Sandbox installation. For more details about available options, contact your administrator.
You cannot edit this option if a network channel was specified during template deployment.
The Auto item is selected by default. For more details about channels, refer to Internet channel values.
The list of available regions can contain individual countries in regions through which the internet can be accessed.
- If necessary, click Browse near the Add Suricata rules file entry field to select the file that contains Suricata rules.
The recommended file size is 5 MB. If the Suricata rule file size exceeds 16 MB, we recommend that you split it into several files (up to 5 MB in size) and upload them to the task sequentially.
- If you want to decrypt HTTPS traffic that is generated during the web address browsing, select the Decrypt HTTPS check box.
The check box is selected by default.
HTTPS traffic decryption reduce malware detection probability.
- If necessary, select the VNC access check box. VNC mode allows you to interact with the execution environment and samples during the analysis process.
If you select the VNC access check box, the following options become available:
- Launch automatically—Starts the sample automatically. This check box is selected by default.
- Disable clicker—Disables the utility that emulates a user. This check box is selected by default.
- If you want to generate a debug report for a web address, which can be used for incident investigation by Kaspersky specialists, select the Create debug report check box. The diagnostic information about how the application is functioning is obtained separately.
Enabling this parameter requires additional free disk space to store object execution results.
This check box is cleared by default.
- If you want to specify a name of a network channel that will be used to access the internet, select one of the following options in the Internet channel drop-down list:
- If necessary, click the Reset button to reset options to default values.
Please note that added Suricata rules file will not be removed. Use the
 button to remove the required rule file.
 - Click the Start URL analysis button to start emulating the web address opening process.
An entry describing results appears in the History table. You can start to analyze results when the process completes and the Status field becomes Completed.
- If necessary, click the Rescan
 button to browse the web address again, and repeat steps 2–5 of this procedure.
If the previously specified internet channel is no longer available, the Auto item is selected by default.
If you open the web address again later, results may differ from those shown in the History table for the same web address because Kaspersky expert systems update information about objects in real time. Results depend on the threat landscape.
Starting web address browsing