Configuring the main Kaspersky Thin Client settings via the Web Console: administration group
In the Web Console, you can use policies to assign names to thin clients in an administration group and specify the administrator's contact details that will be displayed in the interface of Kaspersky Thin Client installed on these devices.

To configure the main settings of Kaspersky Thin Client via the Web Console:
- In the main window of the Web Console, select Assets (Devices) → Policies & profiles.
- Click the policy name for the Kaspersky Security Management Suite web plug-in.
- In the window that opens, select the Application settings tab.
- Select the General section (see the figure below).
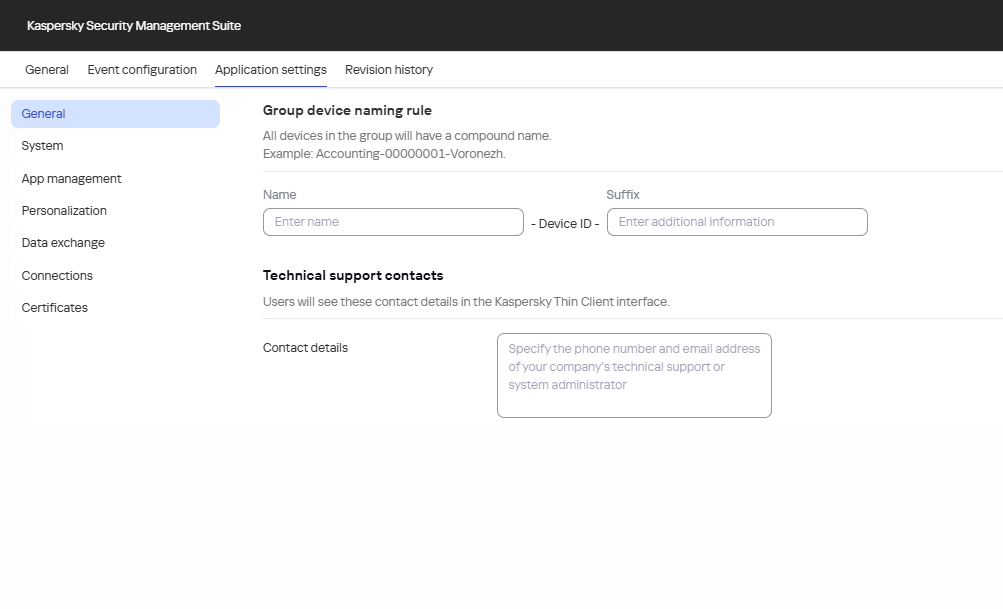
Window for configuring the main settings of Kaspersky Thin Client installed on thin clients in an administration group via the Web Console
- Configure the required settings:
- In the Group device naming rule section, enter the name and additional information in the relevant fields. This data is displayed in the name of each thin client added to the administration group. You can enter uppercase and lowercase letters in Cyrillic or Latin and special characters. Maximum text length in each field: 10 characters.
The names of thin clients also include an identifier (ID). This is a unique set of eight characters that is automatically generated for each device added to the administration group. You can change the identifier of an individual thin client.
- In the Technical support contacts section, in the Contact details field, enter the phone number and name of the administrator or, for example, the email address of your technical support service. The number of characters in this field must not exceed 80 characters.
The entered information is displayed for thin clients added to an administration group in the Kaspersky Thin Client interface: in the control panel, in the windows for confirming a reset of Kaspersky Thin Client settings and data and confirming changes to Kaspersky Security Center connection settings, and when the certificate for connecting to Kaspersky Security Center is replaced.
- In the Group device naming rule section, enter the name and additional information in the relevant fields. This data is displayed in the name of each thin client added to the administration group. You can enter uppercase and lowercase letters in Cyrillic or Latin and special characters. Maximum text length in each field: 10 characters.
- If you want the configured settings to be applied to Kaspersky Thin Client installed in child administration groups and do not want them to be available for editing in Kaspersky Thin Client in the current administration group, move the toggles next to the relevant blocks of settings to the Enforced position.
- Click Save in the lower part of the window.
The changes will be saved and applied to Kaspersky Thin Client installed on the thin clients added to the administration group after synchronization of Kaspersky Thin Client with Kaspersky Security Center.
Page top