Changing a thin client ID via the Web Console: one device
In Kaspersky Security Center Web Console, you can change the identifier of a thin client added to an administration group, if a device with the same name already exists in this administration group.
You can configure device names in an administration group using policies.
To change a thin client ID via the Web Console:
- In the main window of the Web Console, select Assets (Devices) → Managed devices.
- In the displayed list, click the name of the relevant thin client. You can view the device name in the Kaspersky Thin Client interface. If the thin client name is not on the list, add it to an administration group.
If a setting you are configuring is locked in a policy that was created for an administration group, you cannot change this setting when configuring the individual device. Change or unlock this setting in the policy.
- In the window that opens, select the Applications tab.
- Click the name of the Kaspersky Security Management Suite web plug-in.
This opens a window with information about Kaspersky Thin Client.
- Select the Application settings tab.
- Select the General section (see the figure below).
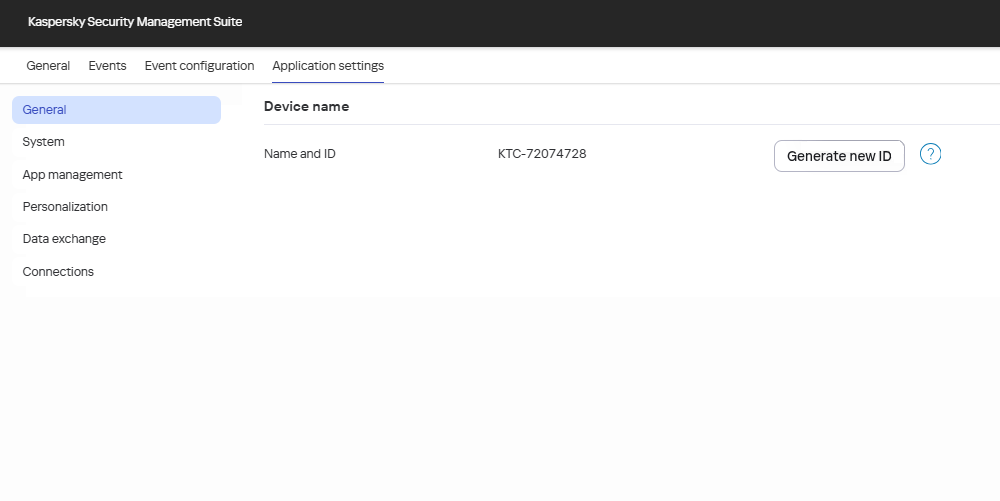
Changing a thin client ID via the Web Console
- In the Device name group click Generate new ID.
This begins the process of creating a new ID. It will be refreshed in the Web Console interface after the thin client synchronizes with Kaspersky Security Center.
- Click Save in the lower part of the window.
The changes are saved and applied to Kaspersky Thin Client installed on a thin client after synchronizing Kaspersky Thin Client and Kaspersky Security Center.
Page top