Configuring monitors and screens via the Web Console: administration group
In the Web Console, you can use policies to configure monitors connected to thin clients and the settings of Kaspersky Thin Client screens.
Kaspersky Thin Client supports connection of two monitors. The system considers one of the monitors as primary and the other as secondary. During a remote session, the connection panel is displayed on the primary monitor screen. The secondary monitor screen extends or duplicates the image of the primary monitor. In the Web Console, you can select which monitor should be considered the primary monitor (hereinafter also "change the monitor layout").

In the Web Console interface, monitors are numbered. The system determines monitor numbers based on the connection port: monitor 1 is the one nearest to the power source, and monitor 2 is the next one. Refer to the device manufacturer's documentation for the location of the ports on supported thin client models.
The Web Console does not display information about how many monitors are connected to a specific thin client.
If you want the remote session screen to be displayed on both monitors, enable them in the remote environment connection settings in the RDP or Basis.WorkPlace applications.
To configure monitors and screens via the Web Console:
- In the main window of the Web Console, select Assets (Devices) → Policies & profiles.
- Click the policy name for the Kaspersky Security Management Suite web plug-in.
- In the window that opens, select the Application settings tab.
- Select the System section (see the figure below).
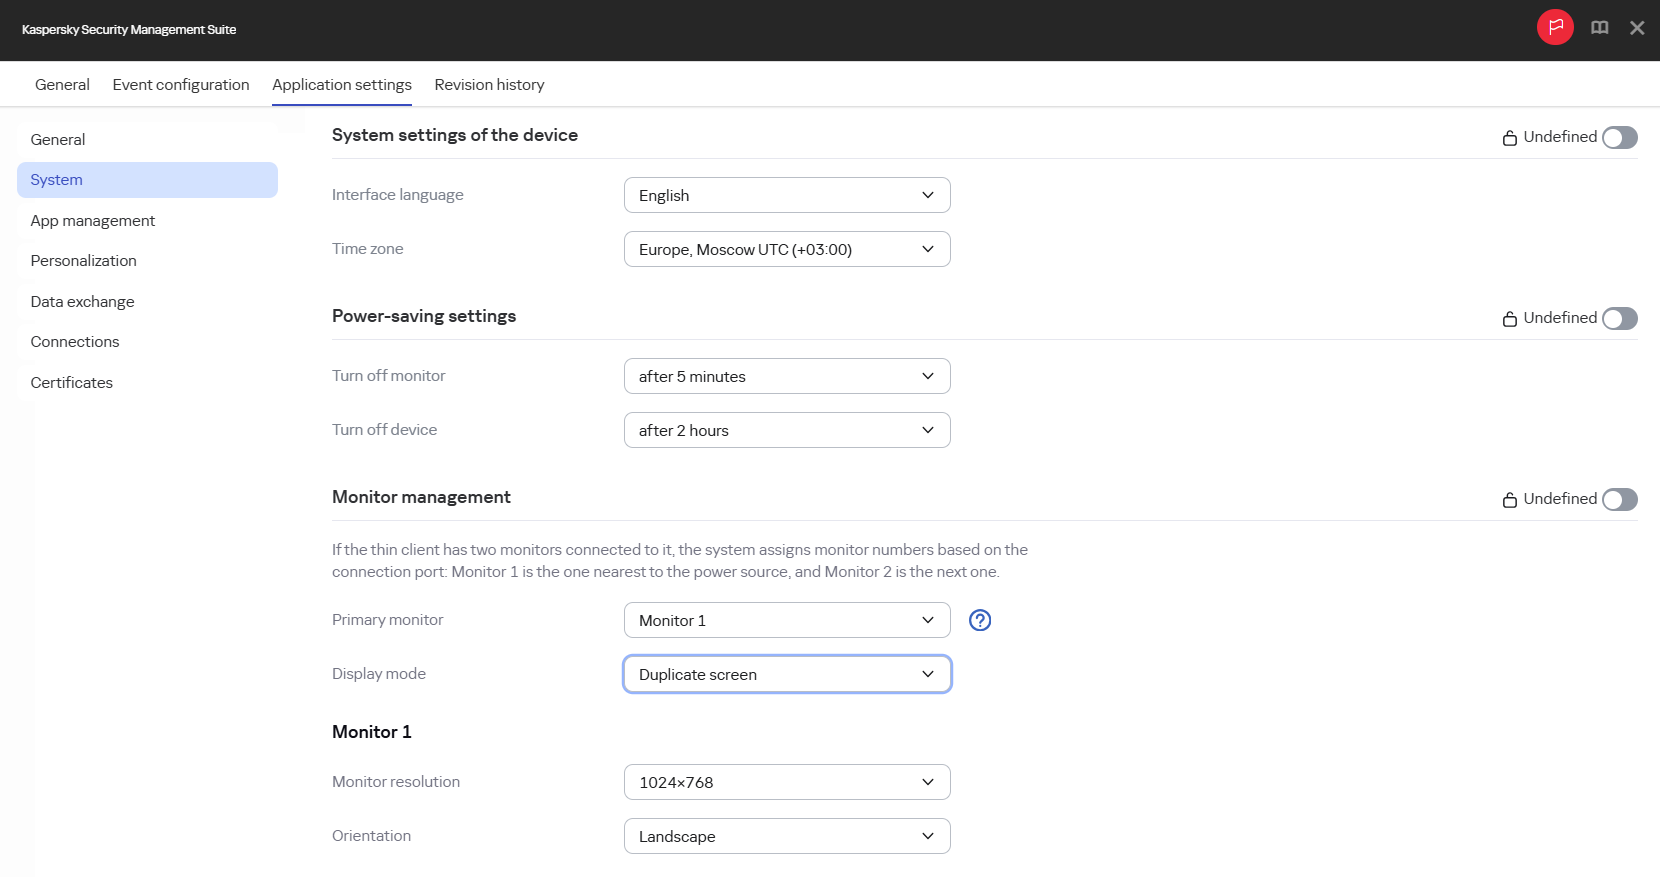
Window for configuring monitors and screens via the Web Console: administration group
- In the Monitor management group, configure the required settings:
- In the Primary monitor drop-down list, select which monitor should be considered primary.
If only one monitor is connected to one of the thin clients in the administration group, the settings of the monitor that is set as primary in the Web Console are applied to it.
- In the Display mode drop-down list, select the image display option:
- Extend screen—the image spans across two monitors.
- Duplicate screen—the image of the primary monitor's screen is duplicated on the secondary one.
- In the Monitor resolution drop-down list, select the desired resolution for the selected screen.
Supported resolutions are listed in the hardware and software requirements section.
If the Maximum possible value is selected, the highest value of the parameter supported by the monitor and Kaspersky Thin Client is set.
- In the Orientation drop-down list, select the screen position:
- Landscape: the standard screen position.
- Landscape flipped: the screen is rotated 180°.
- Portrait: the screen is rotated 90°.
- Portrait flipped: the screen is rotated 270°.
- In the Primary monitor drop-down list, select which monitor should be considered primary.
- If you want the configured settings to be applied to Kaspersky Thin Client installed in child administration groups and do not want them to be available for editing in Kaspersky Thin Client in the current administration group, move the toggles next to the relevant blocks of settings to the Enforced position.
- Click Save in the lower part of the window.
The changes will be saved and applied to Kaspersky Thin Client installed on the thin clients added to the administration group after synchronization of Kaspersky Thin Client with Kaspersky Security Center.
Page top