Managing black and white lists
This section explains how to manage the white list and the black list on the Feeds tab.
You can access both lists by clicking the Manage lists drop-down list in the Filtering rules for feeds section.
Managing the white list
To access the white list, click Manage lists and select White list.
The White list window opens:
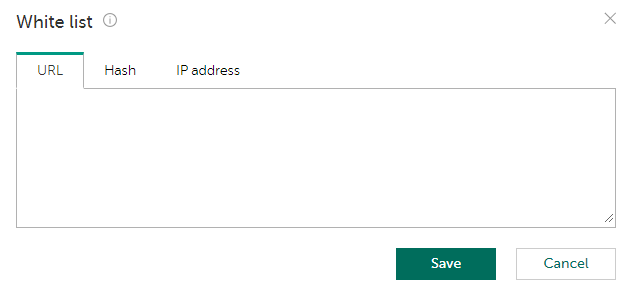
White list
You can edit the white list of indicators as follows:
- Select the URL, Hash, or IP address tab to manage the group you want.
On the URL tab, you can specify a URL containing a wildcard symbol
*(for example,example.com/testpage/*, which will match URLs such asexample.com/testpage/test1andexample.com/testpage/test/long_url).Any URL that you add on the URL tab must be normalized. Otherwise the URL might be ignored in the matching process. For the instruction on how to properly normalize a URL, see subsection "URL normalization rules" below.
- Every indicator must be on a separate line in the text box.
The white list is checked only after all events from a thread have been matched against all the feeds. The main purpose of the white list is to enable Kaspersky CyberTrace to ignore detections for trusted indicators: if any feed produces a detection, but a given indicator is found in the white list, Kaspersky CyberTrace does not generate a detection event. In this case, on the Dashboard tab, in the Feed statistics table, the value in the Whitelisted column corresponding to the feed that produced the detection is incremented by one. The values in the Whitelisted column show how many false detections were produced by each feed. For more information about the Dashboard, see section "Kaspersky CyberTrace Dashboard".
Managing the black list
To access the black list, click the Manage lists drop-down list and select Black list.
The Black list window opens:
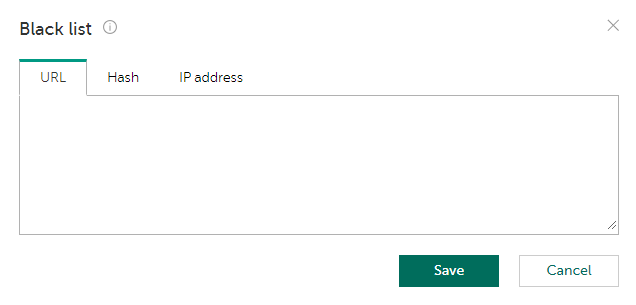
Black list
You can edit the black list of indicators as follows:
- Select the URL, Hash, or IP address tab to manage the category you want.
On the URL tab, you can specify a URL containing a wildcard symbol
*(for example,example.com/testpage/*, which will match URLs such asexample.com/testpage/test1andexample.com/testpage/test/long_url).Any URL that you add on the URL tab must be normalized. Otherwise the URL might be ignored in the matching process. For the instruction on how to properly normalize a URL, see subsection "URL normalization rules" below.
- Every indicator must be on a separate line in the text box.
The black list is always checked after the white list, even if a given indicator has already been found in the white list. The black list contains a custom set of IP addresses, hashes, and URLs that must generate detection events. If an indicator being checked is found in the black list, the corresponding detection event is generated with the KL_Black_List_%indicator_type% category.
URL normalization rules
Any URLs added to the black list or the white list on the URL tab must be normalized according to the following URL normalization rules:
- Remove dot segments ("
." and "..") according to the algorithm described in RFC 3986, section 5.2.4 Remove Dot Segments (https://www.ietf.org/rfc/rfc3986.txt):http://www.example.com/../a/b/../c/./d.html => http://www.example.com/a/c/d.html - Remove the protocol:
http://example.com => example.com - Convert internationalized domain names according to the Punycode algorithm described in RFC 3492 (https://www.ietf.org/rfc/rfc3492.txt):
тест.рф => xn--e1aybc.xn--p1ai - Remove the
wwwprefix:www.example.com => example.com - Remove repeated slashes:
example.com//dir/test.html => example.com/dir/test.html - Remove the trailing slash at the end of the URL:
example.com/ => example.com - Remove the authorization information:
login:password@example.com => example.com - Remove the port number:
example.com:80/index => example.com/index - Remove the
#fragmentreference:example.com#fragment => example.com - Remove dots at the end of the host name:
example.com./index.html => example.com/index.html - Convert percent-encoded symbols to UTF-8 according to RFC 3986 (https://www.ietf.org/rfc/rfc3986.txt) and RFC 2279 (https://www.ietf.org/rfc/rfc2279.txt).
- Convert all characters to lower case:
EXAMPLE.COM => example.com - Convert the IP address (if any) leading to the requested host to dot-decimal notation:
0112.0175.0117.0150 => 74.125.79.104