Specifying custom ArcSight user in ArcSight Forwarding Connector settings
April 11, 2024
ID 173055
This section describes how to specify a custom ArcSight user in the ArcSight Forwarding Connector settings.
When the ARB package is imported to ArcSight, the FwdCyberTrace user is created in the Kaspersky CyberTrace Connector group. This user account is intended for use by ArcSight Forwarding Connector. You may want to use another user account instead. We recommend that in this case you remove the FwdCyberTrace user and the Kaspersky CyberTrace Connector group. Note that your custom user must have the Forwarding Connector type.
To create a custom ArcSight user account for forwarding events from ArcSight ESM to Kaspersky CyberTrace Service:
- Run ArcSight Console.
- In the Navigator pane, select the Resources tab.
- Open the drop-down list and select Users.
- In the tree view, select the user group that contains the custom user account.
It is recommended to put this user account into a separate user group created only for this user.
- In the tree view, right-click the group entry and select Edit Access Control.
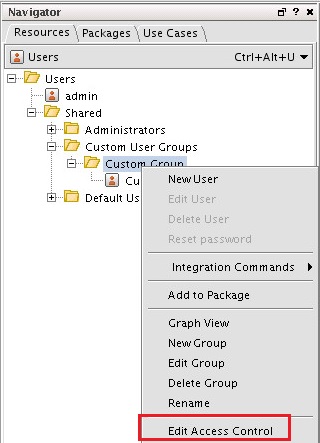
Editing access settings
- In the Inspect/Edit pane, select the Events tab.
- Click Add.
- Select the following event filters:
CyberTrace forwarding eventsThis is the filter for events that contain hashes, URLs, and IP addresses.
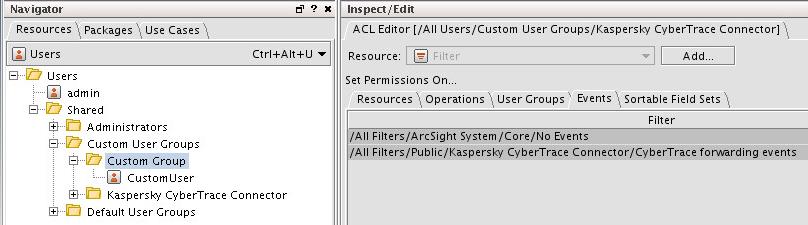
Selecting the event filters
- Install or reconfigure ArcSight Forwarding Connector.
The procedure for reconfiguring of ArcSight Forwarding Connector is provided below in this section.
To reconfigure ArcSight Forwarding Connector:
- Change the current working directory to
%FORWARDING_DIR%/current/bin.Here
%FORWARDING_DIR%is a directory where ArcSight Forwarding Connector is installed. - Execute the runagentsetup.sh script.
- Select Modify Connector and click Next.
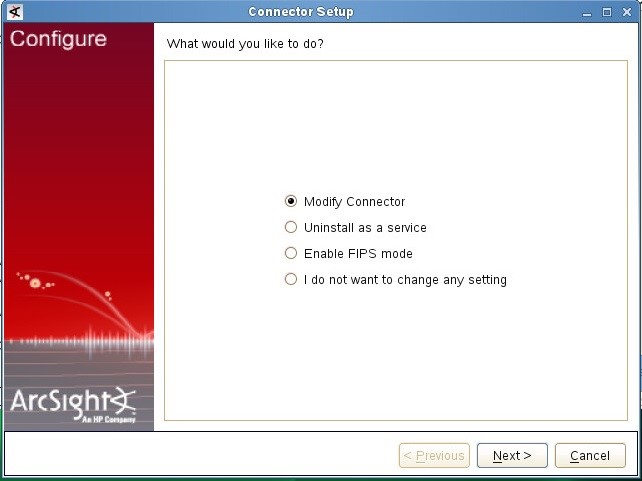
Modifying the connector
- Select Modify connector parameters and click Next.
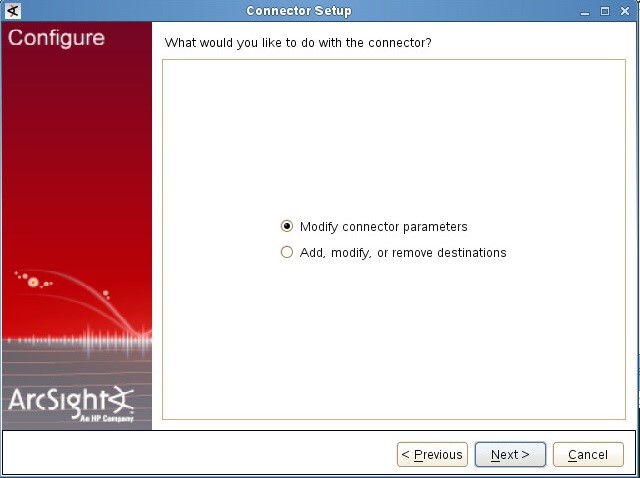
Modifying the connector parameters
- Specify the ArcSight parameters and the credentials of the custom user account and click Next.
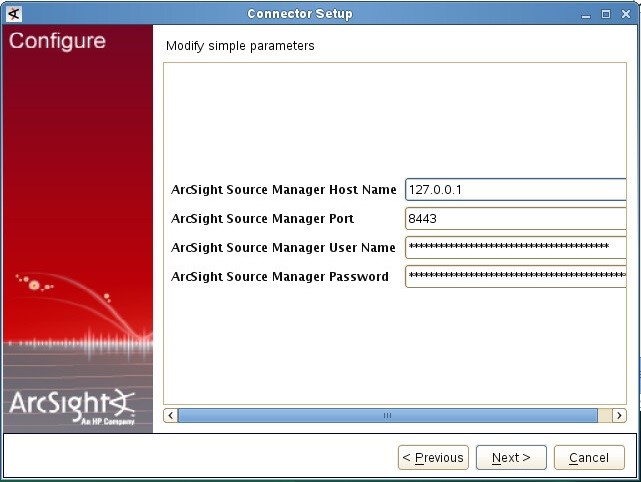
Specifying the ArcSight Source Manager parameters
- Click Next and then click Finish to finalize the Connector Setup window.
