Installing ArcSight SmartConnector (Windows)
This section describes how to install ArcSight SmartConnector on Windows.
To install ArcSight SmartConnector:
- Run the ArcSight SmartConnector installation application.
This application is a component of HP ArcSight and is not included in Kaspersky CyberTrace.
SmartConnector installation: Introduction
- Select the ArcSight SmartConnector installation folder (hereinafter referred to as
%ARCSIGHT_HOME%).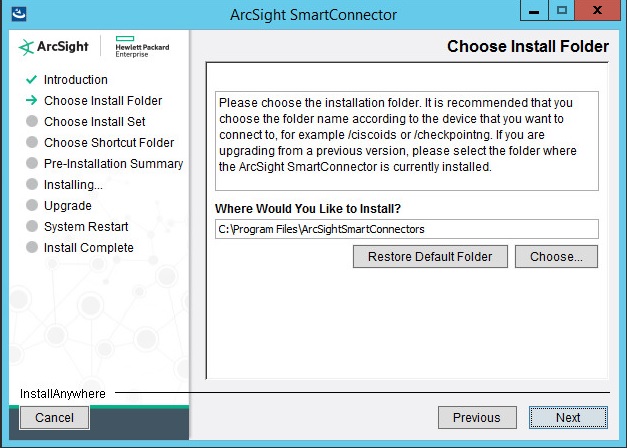
Choosing an installation folder
- Set the installation type to Typical.
- Select the location where a shortcut for the connector will be created.
You can also choose not to create icons.
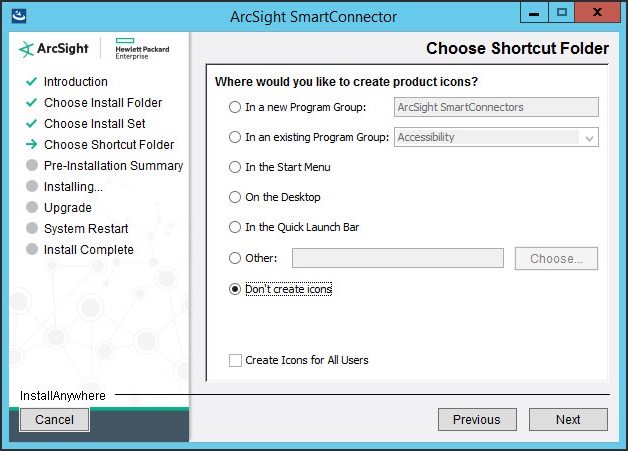
Choosing a shortcut folder
- After the contents of the binary file are unpacked, click Add a Connector.

Adding a connector
If this window is not displayed, configure ArcSight SmartConnector manually. For this purpose, run the following command:
%ARCSIGHT_HOME%\current\bin\runagentsetup.bat - Select Syslog Daemon as the connector type.

Selecting the connector type
Click Next.
- In the Enter the parameter details form, specify the following data:
- Network Port—Port to which Feed Service will send detection events.
It is the same port that is specified on the Settings > Service tab of Kaspersky CyberTrace Web (by default, it is
9998). - IP Address—IP address to which Feed Service will send detection events.
It is the same IP address that is specified on the Settings > Service tab of Kaspersky CyberTrace Web (by default, it is
127.0.0.1).You can specify
ALLif you want Arcsight SmartConnector to receive events from all network interfaces of the computer on which it runs. (Note that you cannot specifyALLin the Feed Service configuration file.) - Protocol—Specify
Raw TCP. - Forwarder—Specify
false.
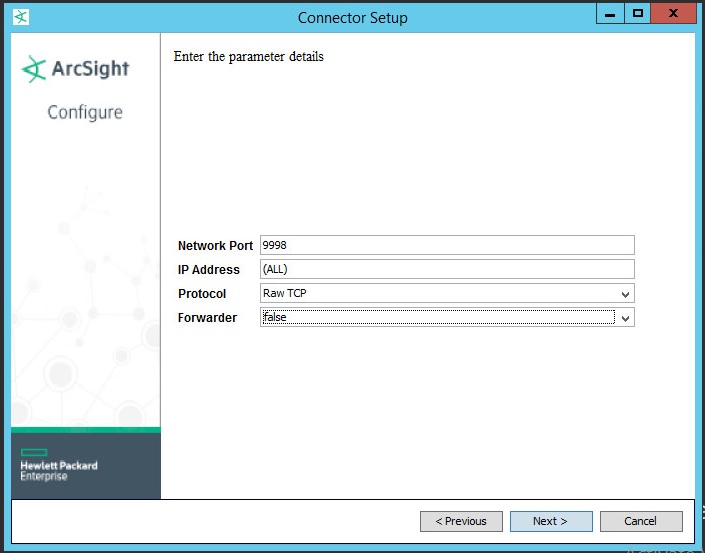
Parameters for sending detection events
Click Next.
- Network Port—Port to which Feed Service will send detection events.
- Specify ArcSight Manager (encrypted) as the type of destination.
Click Next.
- Specify other destination parameters:
- Manager Hostname—Host where ArcSight Manager is running.
- Manager Port—Port where ArcSight Manager is available.
By default, it is 8443.
- User—Name of the ArcSight ESM user that has rights for registering the connector.
- Password—Password of the ArcSight ESM user.
- AUP Master Destination—Specify false.
- Filter Out All Events—Specify false.
- Enable Demo CA—Specify false.
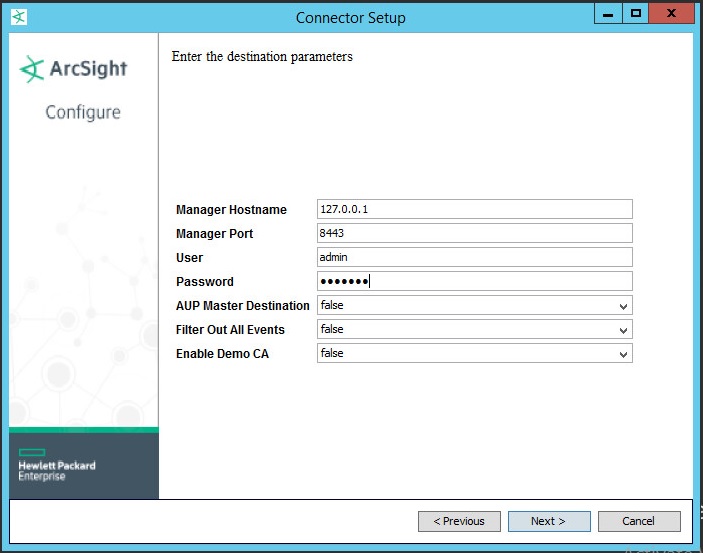
Destination parameters
Click Next.
- Specify the connector details: the name (arbitrary value permitted), location (arbitrary value permitted), location of the device that will send events to the connector (arbitrary value permitted, can be empty), and comment about the connector (arbitrary value permitted, can be empty).
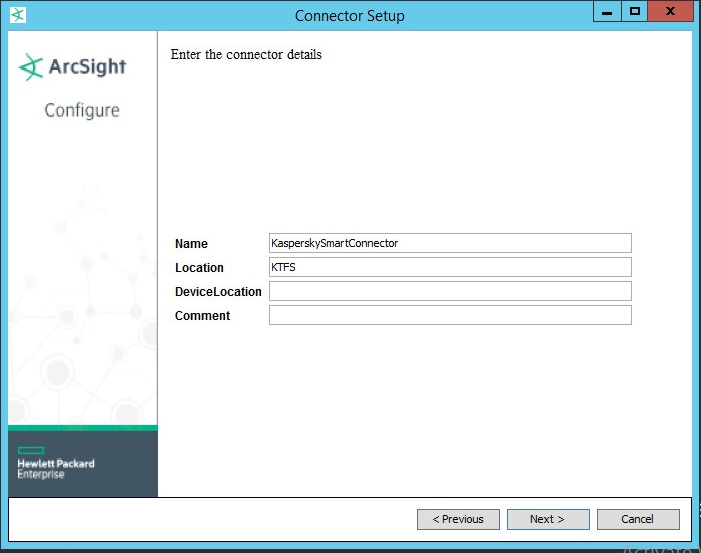
Connector details
Click Next.
- If the ArcSight Manager parameters are valid, accept importing the certificate from the destination.
- If the certificate is imported successfully, you will be asked to install ArcSight SmartConnector either as a service or as an application. We recommend that you install it as a service.
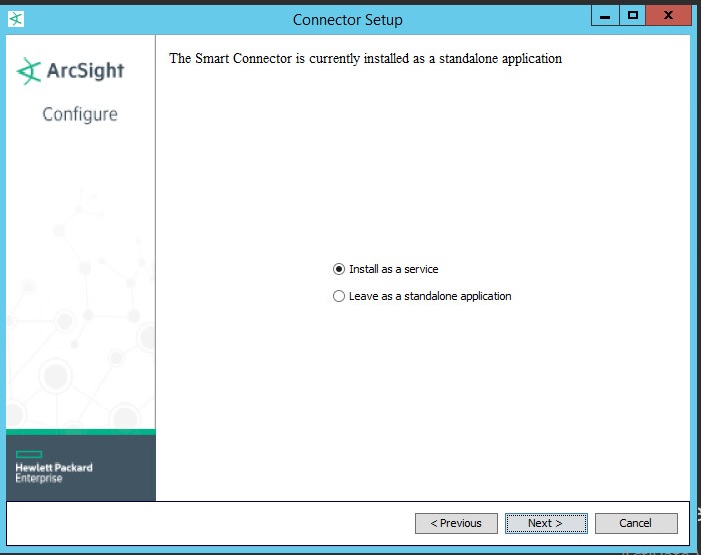
Choosing installation mode
Click Next.
- Specify the service parameters.
We recommend that you set the service name to be the same as the connector name.
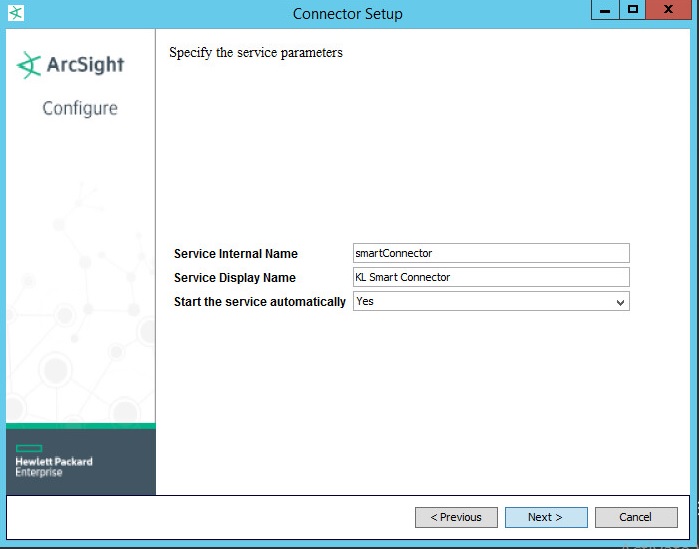
Specifying service parameters
Click Next.
The operation summary is displayed.
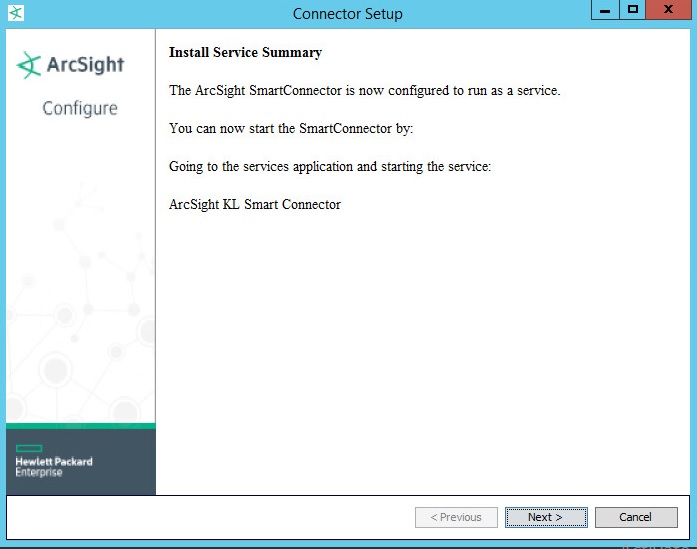
SmartConnector installation: Operation summary
- In the
%ARCSIGHT_HOME%/current/user/agent/agent.propertiesconfiguration file, specify30000in theagents[0].tcppeerclosedchecktimeoutparameter. - Make sure that the service named
ArcSight %ServiceDisplayName%is running (%ServiceDisplayName%is the name that you specified in the Service Display Name box in the previous step).For this purpose, open Windows Task Manager and check the status of the service. The status must be
Running. Using Windows Task Manager, you can stop or start the service.